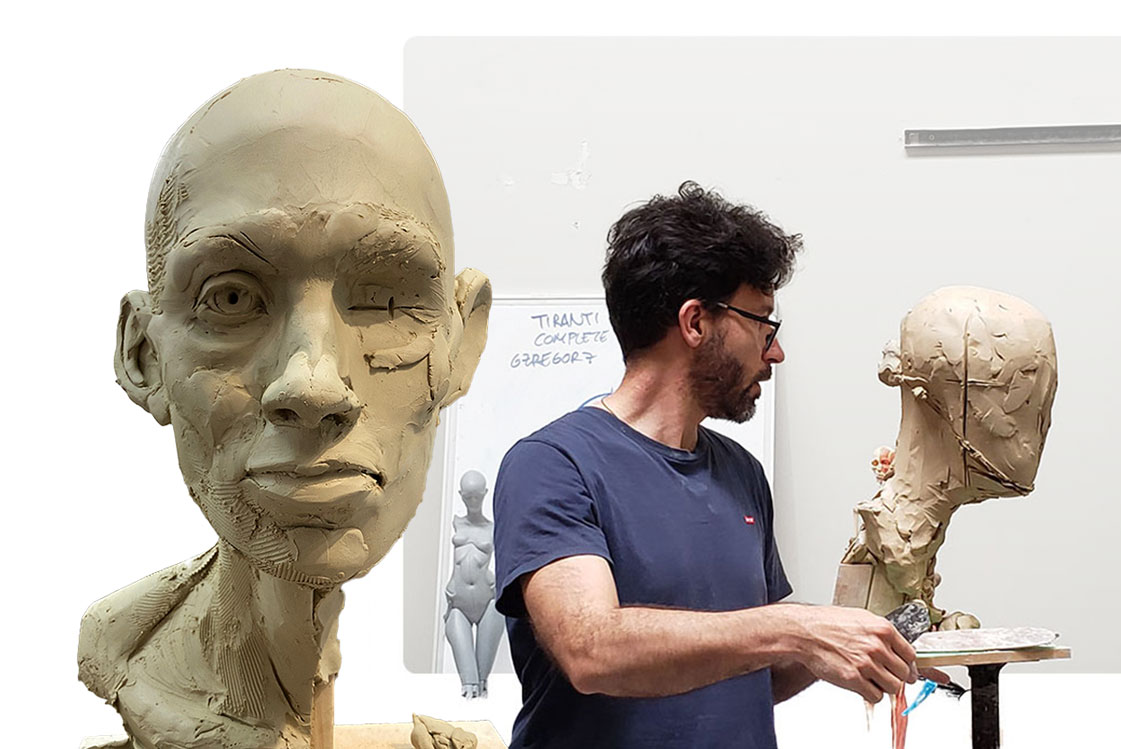
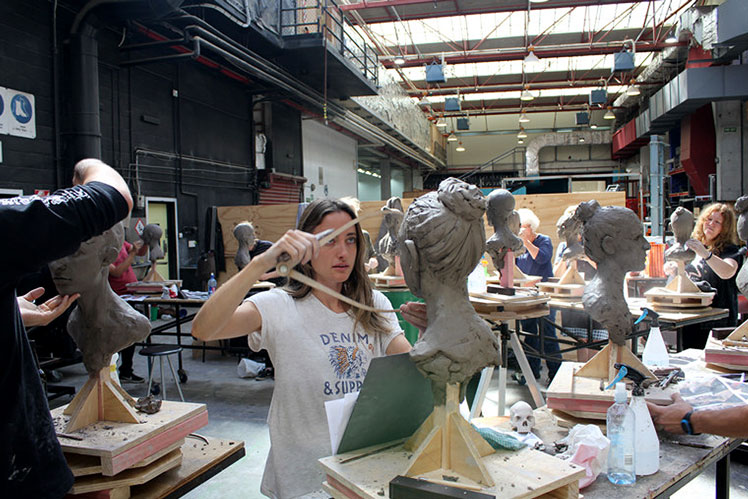
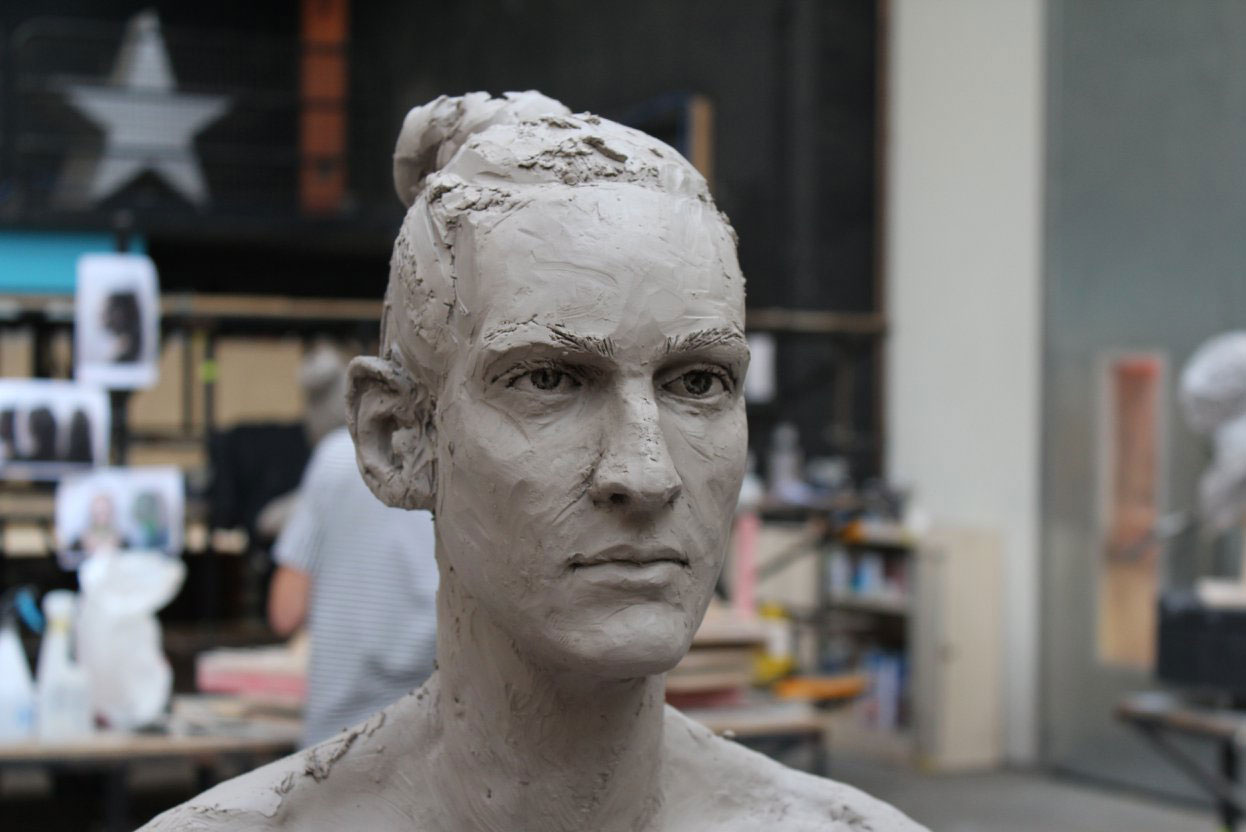
Creating a good portrait is one of sculpture’s greatest challenges. I’ve completed many portraits throughout my career, and I can tell you that capturing true likeness is difficult. However, I’ll guide you through a step-by-step approach that works especially well for those with limited experience. While experienced sculptors often work more organically and intuitively, like I do in the video above these lines. The method I outline here proves valuable in any scenario.
Step 1: Start with the Basic Structure
Before diving into details, remember this crucial point: you must visualize the hair from the beginning. You don’t need to shape it immediately, but you need to see where it sits to get a complete image of your subject. Without considering the hair, achieving likeness becomes significantly harder.
Begin by creating your “blank canvas” using my foundational method. Once you have this base, shape the head using profile views to establish accuracy. First, trace the profile view contour, then the front view contour. This gives you a solid foundation to build upon.
Step 2: Establish Your Navigation Grid
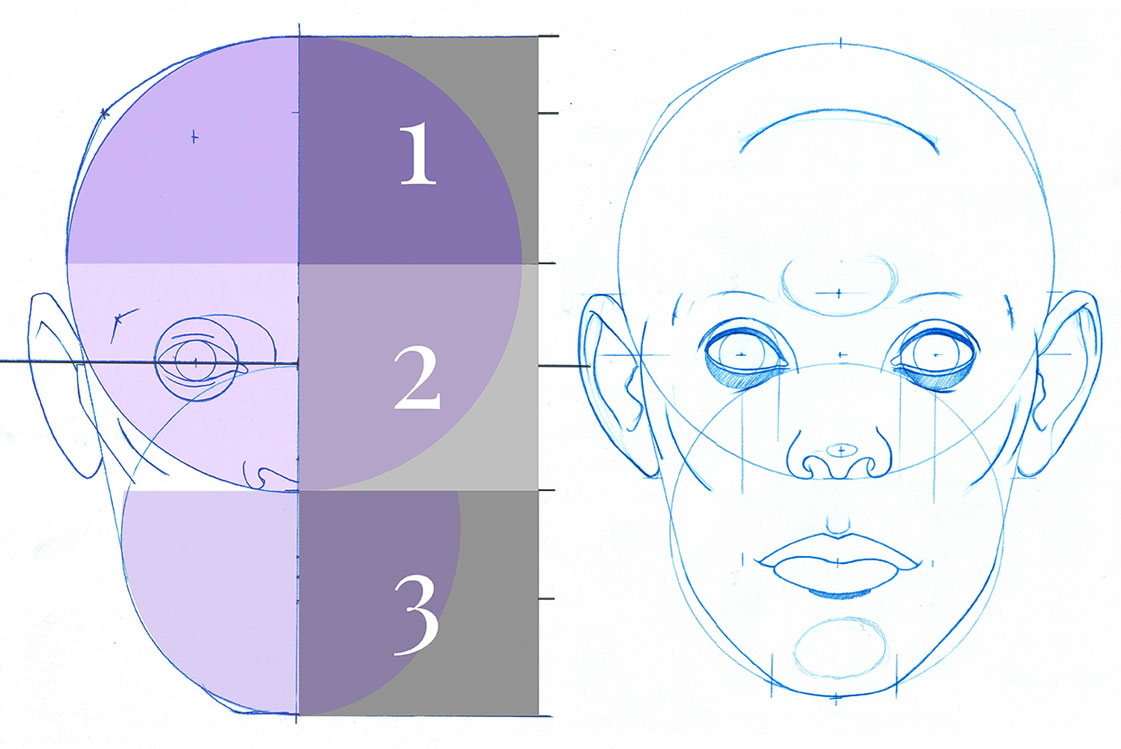
Next, find the lines that will guide you through the work. You’ll need both horizontal and vertical reference lines:
Horizontal lines mark:
- Hairline
- Eyebrows
- Eyes
- Nose
- Lips
- Ear placement
Vertical lines define:
- Face frame
- Eye centers
- Nose width
- Mouth width
With this grid mapped out, you now have a clear system for placing all features exactly where they belong.
Step 3: Build the Three-Dimensional Form
Now that you have your grid and contours traced, it’s time to add depth. Study your subject from four critical angles: 3/4 view from left back and from right back, and again 3/4 from front view left and right. This multi-angle approach helps you trace facial contours more accurately.
Define the depth of eye sockets, cheekbones, chin, and lip volume during this stage. For the inner corners of the eyes, refer back to your profile view to determine how much the eyes protrude forward.
Step 4: Refine the Foundation
After tracing all contours, begin shaping the face while continuously checking your work against the reference. Keep examining the contours from all angles to maintain accuracy. At some point, the face’s likeness should start emerging. You’re still sketching at this stage, but you’re building a solid foundation.
Now you can begin tracing the eye and lip lines into your work. Important note: If you lack drawing experience, practice these lines separately first. They’re crucial for achieving likeness—if executed too loosely, your results will suffer.
Also add basic volume for the ears. Keep this sketchy; you don’t need detailed ear shapes yet, just correct contour and size placement.
Step 5: Create the Features
With your foundation in place, start recreating individual features. Each feature requires its own approach—techniques I demonstrate in my workshops and courses. Focus on ensuring depth, lines, and forms are as accurate as possible. This attention to detail ensures successful results.
This is where the work becomes both challenging and exciting. Taking time to execute this stage properly will significantly improve your final outcome.
If you can complete this process and create a recognizable likeness, congratulations—you definitely have the skill for portrait sculpture. Keep developing it.
Taking It Further: The Sculptural Language
Want more realistic results? If you’ve achieved basic likeness but feel unsure about your technique and want to push further, you’re in a good place. This means you’ve successfully reached this level but want more control over your results.
While practice is essential, learning sculptural language more consistently will help tremendously. Just as drawing is a language that translates perception into 2D format using pencils, perspective, and gradations, sculpture has its own language focused on form control.
In sculpture, light and shadows are real, not recreated. Sculptural language centers on geometry. Take the eye, for example: to create a successful eye, you must understand the eyeball’s geometry, as the eyelids and surrounding skin follow this structure. This ensures proper form and volume. The same principle applies to lips, face, head—every form follows this geometric logic.
The Importance of Anatomy
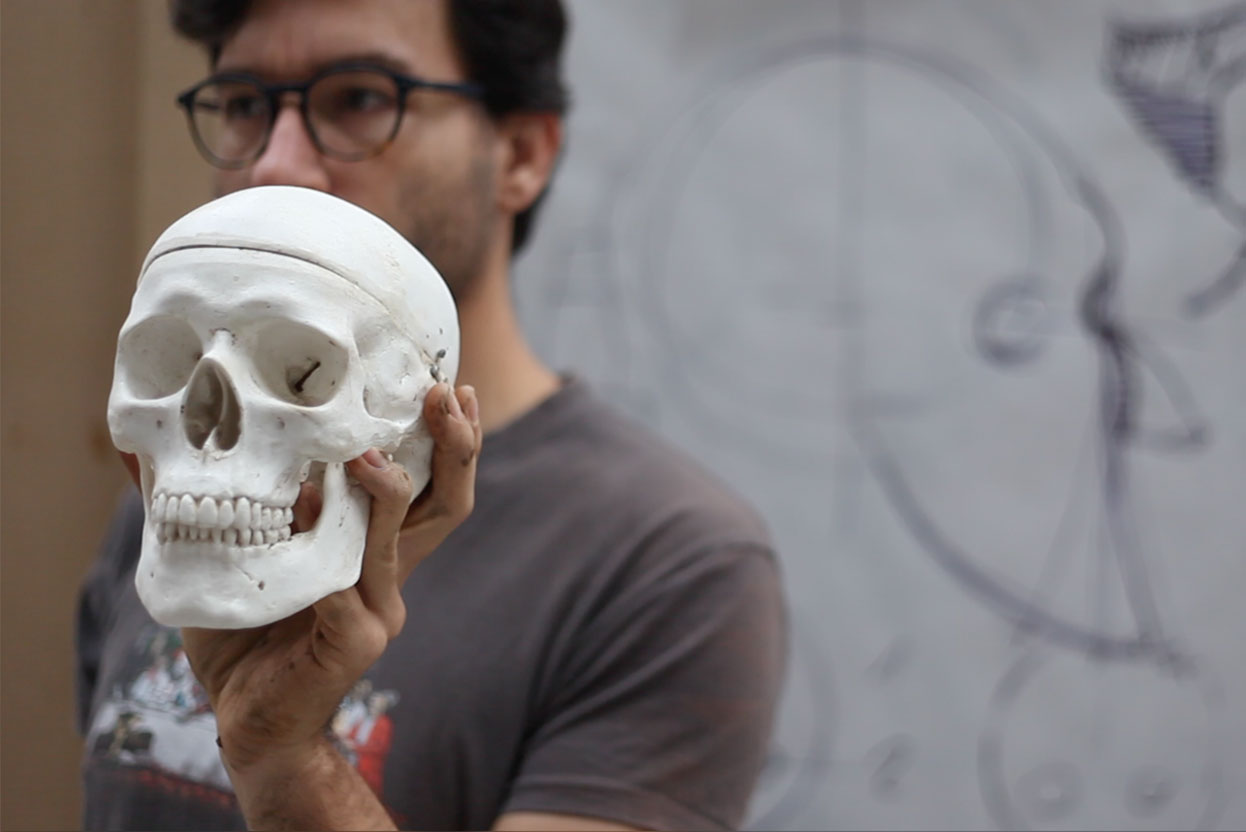
When working with the human figure, I always recommend studying anatomy. For portraits specifically, understanding the human head’s structure helps enormously in achieving correct forms. Learning to read the bony structure beneath the skin is probably one of the most important aspects of getting portraits right.
Beyond Technical Skills
Finally, remember that technical aspects—correct proportions, dimensions, anatomy, and sculptural language—while essential, aren’t everything. Consider this: how can a caricature artist create a drawing of you without any proportionally accurate lines yet still capture your essence so completely that you recognize yourself? There’s definitely something more at work that’s harder to explain.
What do you think that something is? I’d love to hear your thoughts.
Thanks for reading, and I hope you found this guide helpful. Consider subscribing for more tips and advice, and if you’re interested in learning more about the human form, check out my workshops and online courses.